Saturday, August 6, 2011

Inner Fender Repair

Earlier in the spring I had a friend, who owns a powder coat company, sand blast a number of large parts to get them cleaned up and prepped for paint.

Over the years, battery acid completely destroyed the battery tray and ate away at the driver side inner fender where the tray is mounted. Before I could prime the parts with epoxy I needed to replace the missing metal.

The first step was to create a pattern that I could transfer to a new piece of metal. I just used a piece of paper and made reference marks so that the holes that are supposed to be there would end up in the right spot. I traced the pattern into sheet metal and then hammered the edges over a form to create the compound curves. A couple of relief cuts in the corner made things easier. I used a cutoff wheel to remove the cancerous metal as marked.
With trimming, grinding, and several test fits, the piece was ready to weld. Then it was just a matter of recreating the two holes that are supposed to be there. The larger hole is for access to install a J-nut into the smaller one. The battery tray is anchored here with a bolt.


I finished the day out by laying down some epoxy primer to protect a number of large parts until they can be finished. The dash frame has some rust pits to be filled before it's resprayed black.

Saturday, July 30, 2011

Heater Box Repairs

Like most components on this car, the heater box has seen it's share of neglect and abuse. Someone has been into in the past, perhaps for a new heater core or to just try to figure to figure out why something didn't work. Probably started when the heater blower motor seized or vacuum controls got sticky, or wiring fried.

In any case, the fiberglass housing was severely cracked and broken in numerous places. A couple of the mounting studs (that hold it to the firewall) were completely broken off with chunks of fiberglass still attached.

I sent old seals and gaskets off to Detroit Muscle Technologies months ago for them to recreate. Much of them were part of the HVAC system and found in the heater box. Sadly, they haven't responded to any emails or attempts to phone them so I may end up making all of my own - we'll see.

In the mean time I'm attempting to repair and restore the box. With all the cracks, breaks, and missing bits it's pretty flimsy. But, with the help of fiberglass mat and resin it's shaping up nicely.


Most of the repairs are on the inside where they won't be seen. By necessity, some are on the outside which will serve to add much needed strength and reinforcement. Little will be visible once it's fully reassembled and painted - and even then you'll have to be standing on your head under the dash to see it.

Tuesday, July 19, 2011

Time out for a diversion

For the past several months life, as it often does, has pulled us in various directions. For example, a tight economy, ailing parents, a daughter going off to college and a myriad of other events have slowed our progress on this project. Stuff happens, right?

Our Rat Kool Monster Kart (before graphics)

One diversion was a Boy Scout related project in which Austin (14) and I built this reverse trike go-kart. which was fabbed from a Manco go-kart, an old Honda SL100 dirt bike, a Kasea Mighty Mite ATV, and various rods and levers from a riding lawn mower. Rear bodywork was formed from the Honda's tank and additional sheet metal. We wanted it to have enough ground clearance for off-road use.

In the spirit of Monster Garage, parts were collected from items we had laying around. Good, clean (but scary) fun!

Wednesday, December 29, 2010

Topcoating the firewall

Austin and I spent a couple of hours this afternoon during his Christmas break doing some odds and ends. He's a real trooper 'cause this kind of stuff is boring for a kid his age. I handed him some Eastwood Rust Encapsulator and had him topcoat the firewall and underdash area that I had previously treated with a rust converter (for mild surface rust). This will seal it and give it a uniform appearace. We're still cleaning paint out of Austin's hair.


Austin applies Eastwood Rust Encapsulator
 Meanwhile, I removed the e-brake assembly and cable, finished the resto on the AM Radio, and repaired some broken plastic tabs on a couple of the dash bezels.

AM radio ready to go back in
To repair the plastic tabs I'm trying a product I hadn't used before called, Rapid Fix. It's basically a super glue with a powder filler. It works very fast and seems to create a strong repair. We'll see how it holds up but so far I'm favorably impressed. It's similar to another product called Plasti-Fix which I used on my Duster project. I can't say yet which one I like better. You can get a better than website price on the Rapid Fix by shopping around.

In this case I created a dam with tape and then began alternately applying powder and glue to build it up. After it cured I was able to easily grind it to the shape I wanted with a 2" Roloc disc.

Rapid Fix before grinding/shaping

Saturday, December 11, 2010

Steering Column Tear-down

Decided to blow the steering column apart since I needed to get the floor mounting plate off and trace for a seal. It was fairly straightforward and actually a little simpler than the one in my Duster. 'Course, someone's been inside already and messed up the steering wheel and horn mechanism.


So what's it take to disassemble one? Not much. After removing the horn pad (which was taped on and missing parts under the pad) I simply removed the wheel nut and used a puller to remove the wheel. One screw and the turn signal lever is out. Remove a snap ring and the main shaft slides out. 3 screws and the switch comes out along with some springs and other miscellaneous parts. Drive the pin out that holds the shift lever in place. There is a set screw that secures the shift tube to the upper assembly. Once all this is off the only thing preventing the shift tube from coming out is the little shift indicator bracket.

The bracket is secured to the tube with two nylon rivets. I presume they used nylon so that in the event of a massive crash it would shear off just as the steering shaft, shift tube, and column housing are designed to collapse - rather than impale you.


I took a punch and pushed the little pins through and the bracket popped off. The nice thing is they should be reuseable.

Reuseable nylon rivet hold the shift pointer bracket to the shift tube. Once the bracket is off the tube will slide out.

A/C Heater controls

Like most stuff on this dash, the A/C Heater controls were really fubered. The vacuum switch was physically broken and my attempts to disassemble and repair it failed. It worked better than before but just didn't operate smoothly enough to reuse. If you've never been inside of one, they're pretty interesting. You can still buy them new from the local parts stores but fortunately I had one from a donor.

A guy in the neighborhood has a '71 Dodge Polara parked next to his house that he plans to demolition derby next summer. It was in pretty good shape and it's a shame, really, to waste a perfectly good car. But since he plans on gutting everything and literally throwing it away he let me salvage parts from it for free. (When he's done destroying it I'm welcome to salvage the drive train). I pulled most of the dash and the heater control has the same vacuum switch as my original. It works very smoothly so I swapped it in.

Swapped in a vacuum switch from donor

The heater blower switch was siezed. There were obvious signs of overheating and when I opened it to see if I could salvage it, it crumbled apart. Most of the wiring in the heater related circuits show signs of too much current flow at some point. I don't know what someone was doing but would explain, in part, why the dash is such a mess. In any case, since the Polara switch is different , I had to replace it with a new one.

Original switch is toast

With some touch-up with a silver paint pen, the A/C Heater controls look like new again and should actually work now.

Saturday, November 27, 2010

Don't buy a car built on a Monday or a Friday...

They say you shouldn't buy a car a built on a Monday or a Friday. Monday, because workers are hung over from a weekend of imbibing and Friday's because they can't wait to get out of there to start drinking. I don't know what day of the week this old girl was assembled. I'll have to figure it out sometime. But, I have to wonder if it was a Monday or a Friday. More on that in a minute.

When these cars were built they weren't fully dipped or primed like today's cars. A lot of metal is exposed and the upper part of the firewall behind the dash is no exception. Several weeks ago I treated the surface rust on the inside of the firewall with some Duro Extend rust converter. It did a good job of converting the rust to a black iron phosphate. Normally I would have used some Ospho but I had the Extend sitting around so I thought I'd try it.

I planned on topcoating it for a uniform look and extra protection with some Eastwood Rust Encapsulator. (I'm also a big fan of Zero Rust which is very similar). But there were a couple of things to take care of first.

The cardboard and fiberglass firewall insulation was in tough shape when I removed it. I really don't want to put it back in. There are some modern heat/sound insulation materials available today that are a better option. I've used RAAMmat BXT in the past which is like Dynamat but a lot less expensive and every bit as good or better. Problem is, large black nylon push pins secure the insulation to the firewall. Eliminating it would leave dimpled holes. So, I hammer and dollied the dimples flat and welded the holes shut.

Welded up the dash insulation holes

The other issue involved the area of the firewall where the Heater/AC box is mounted. Some "hack" has been into the box before which doesn't help matters, but that's another story. The fiberglass is full of cracks around the mounting points and two of the lower mounting studs were broken off. Fortunately, they were still there. Upon closer inspection I found the firewall wasn't flat where it should be.

Seems when they were spot welding this piece in at the factory, somebody jumped the gun on the trigger before it was in the correct position. A few of the welds on the seam missed the toe board altogether. They must have pushed the end into place to finish it off and just let it go.


Firewall pooches out at this seam.
With the globs of seam sealer removed on the inside you can see the dramatic difference. This defect not only made sealing the box to the firewall difficult but put damaging stress on the fiberglass when it was tightened down.


Pooched wall is hard on fiberglass heater box

Another curious find were two small tears in the toe board just below the seam in the same area. They were partially obscured with seam sealer but one hole had daylight shining through it. I'm quite certain it left the factory this way and didn't occur later. I welded them up.


I was afraid I was going to have to drill out several spot welds in order to push the panel in where it belongs. But since it wasn't really welded at all I only had to separate one weld then use a chisel and small sledge in the corner bend to persuade the metal back. A little hammer/dolly work, a couple of spot welds, and the area is reasonably flat as it should be. The heater box will be much happier. I know I am. Built on a Monday or Friday? Maybe. But fast and sloppy back then was the name of the game.

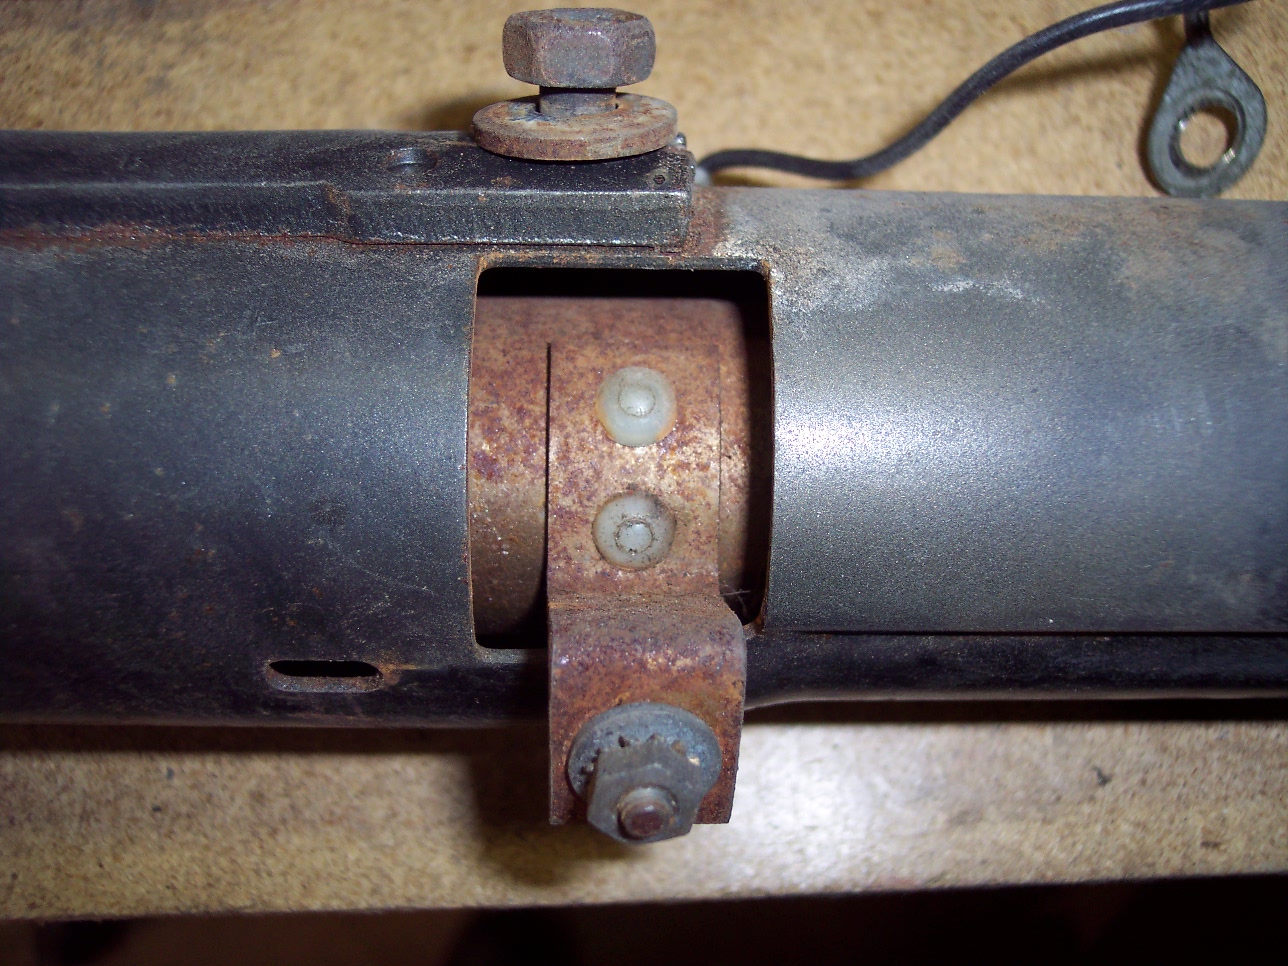
Nice and flat now. The notch in the seam is factory. This is the area they missed with the welder.